Create an Observation
For each observation, you can capture evidence. This could be an activity or a piece of work.
Did you know that you can now add documents and web links directly into your observations from your website! CLICK HERE to find out how.
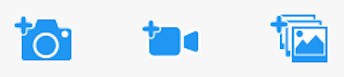
Tap on one of the below icons on the app Create screen to start your observation
 Photo
Photo
-
- The photo will be instantly captured
- Edit your image using the image edit features – Please Note this feature will only appear if you have switched on Enable Crop Screen in the Settings area of the app
- Tap Done in the bottom right-hand corner
- Select Tap to Edit
 Video
Video
-
- The video will automatically start recording
- Click on the stop button
 to stop the recording
 - Click Tap to Edit
 Existing photo/ video
-
- Your device gallery will instantly open
- Select the image(s) you would like to upload (max 10)
- Click Select in the top right-hand corner
TOP TIPS:
-
- Your observation will automatically appear on your recent observations bar so you can always edit it at a later date
- To add more than one media file open up the observation and tap on one of the media icons
 which appear below the image (you can add up to 10 media files to an observation)
 - To delete an image tap to view it and tap on the bin icon in the bottom right-hand corner
 Continue without evidence
-
- A blank observation will automatically open
Photo Face Blurring
The face blurring tool lets you easily customise the photo, to ensure that you meet all of your privacy requirements.
-
- Open up the observation
- Tap on the image
- Tap on the blurring icon
 in the bottom right-hand corner
 - Tap an area on the photo to blur it. Keep your finger pressed down on the screen to increase the size of the blur area.
- Tap Done
- Tap Save
Add Observation Details
-
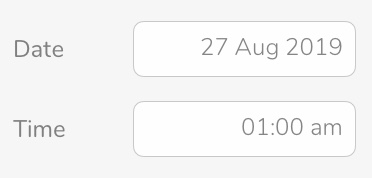
- Tap to edit an observation
- Click to amend the date and time (if required)
- Tap Add tags + to add any observation tags such as boys, girls, etc
- Tap on one of the media icons which appear below the image to upload more evidence (you can add up to 10 media files to an observation)
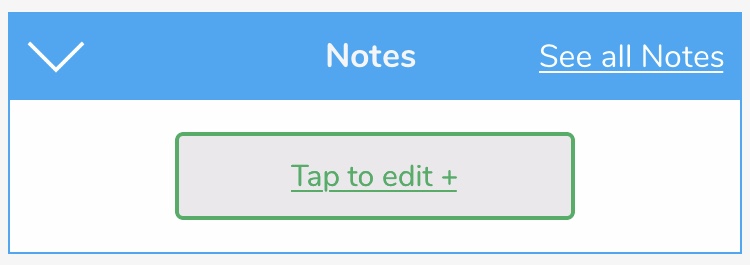
- Tap Add Notes +
 TOP TIP: Dictate your notes by pressing the microphone on your on-screen keyboard (note: dictation may need enabling in your device’s keyboard settings)
- Tap Add Learners +
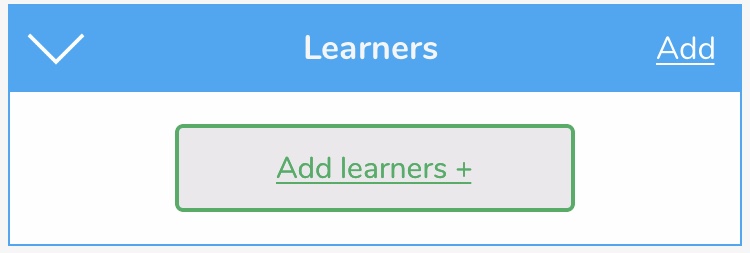
TOP TIP: If you have Auto suggested learners from notes switch on in the setting area of your app the app will automatically tagged learners to your observation base on your notes. - Tap Add Objectives +
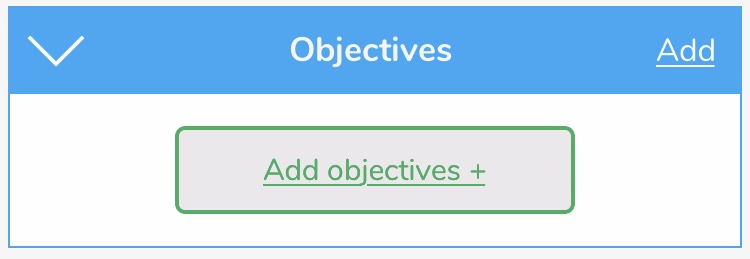
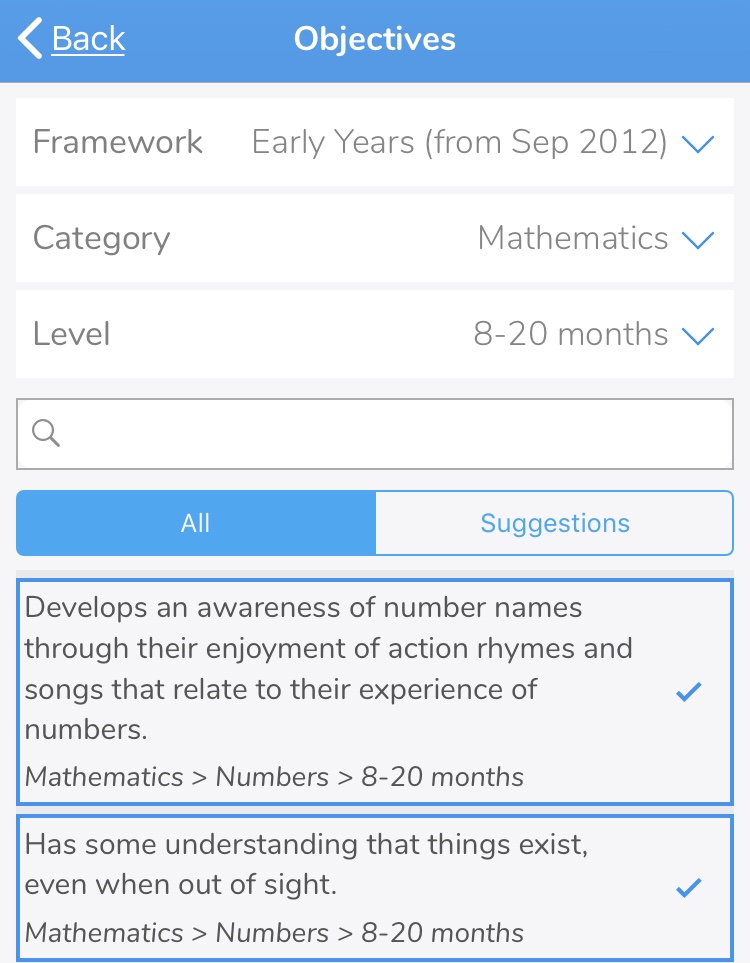
- Use one of the below options to find objectives:
- Use the dropdown filters (Framework, Category, Level)
- Use the search bar to type in a word or sentence
- Tap Suggestions – the app will suggest objectives which match the notes you have entered for this observation
- Tap on objectives so that a blue tick appears on the right-hand side to add it to the observation
- Tap Back (there is no need to click save as all observation data is auto-saved)
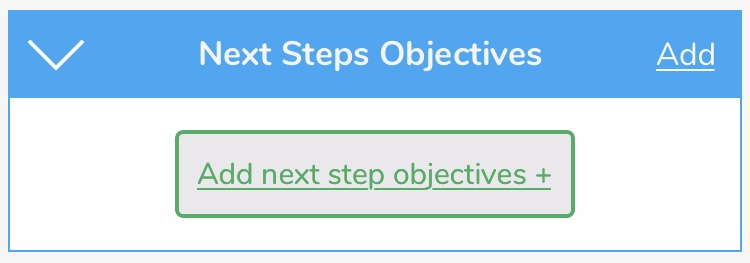
- Tap Add Next Steps Objectives + and follow the same steps above (objectives that have been added will be highlighted in purple)
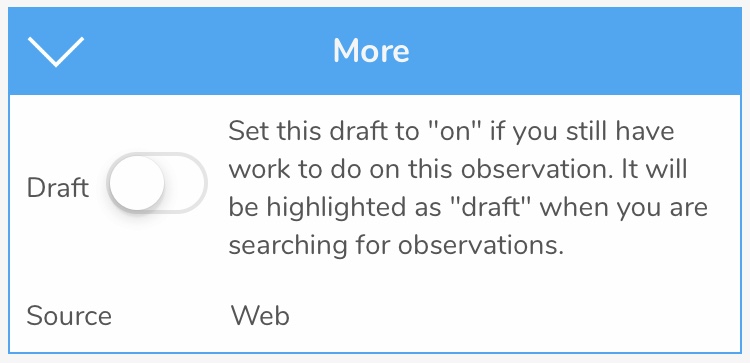
- Use the More feature to set your observation as a Draft
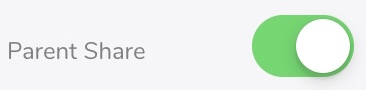
- Select observation for Parent Share – please note once you have selected an observation for Parent Share the observation will be shared with parents within the next few minutes
- Tap on the menu button in the top right-hand corner (three white dots) to Delete or Duplicate an observation
Observations will automatically be uploaded to your Web Suite as long as your device is connected to wifi. This is indicated by a green dot appearing in the top left-hand corner of the observation thumbnail.
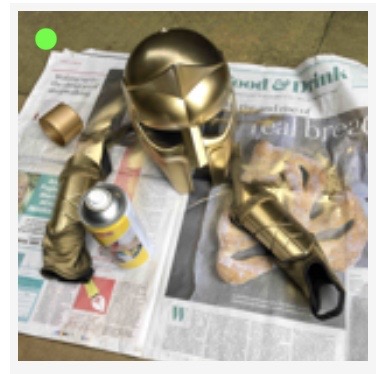 Uploaded
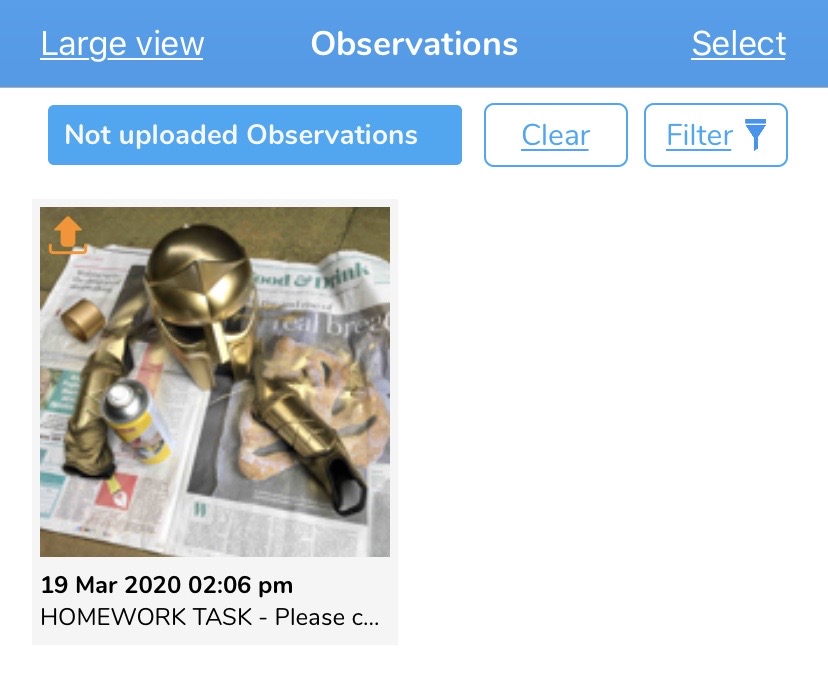
Observations with an orange up arrow in the top left-hand corner are pending upload and will upload as soon as your device is connected to a good wifi connection.

Pending Upload
You can view any observations pending upload at the top of the Observations page

By tapping on the Observation is uploading button all observations pending upload will display.
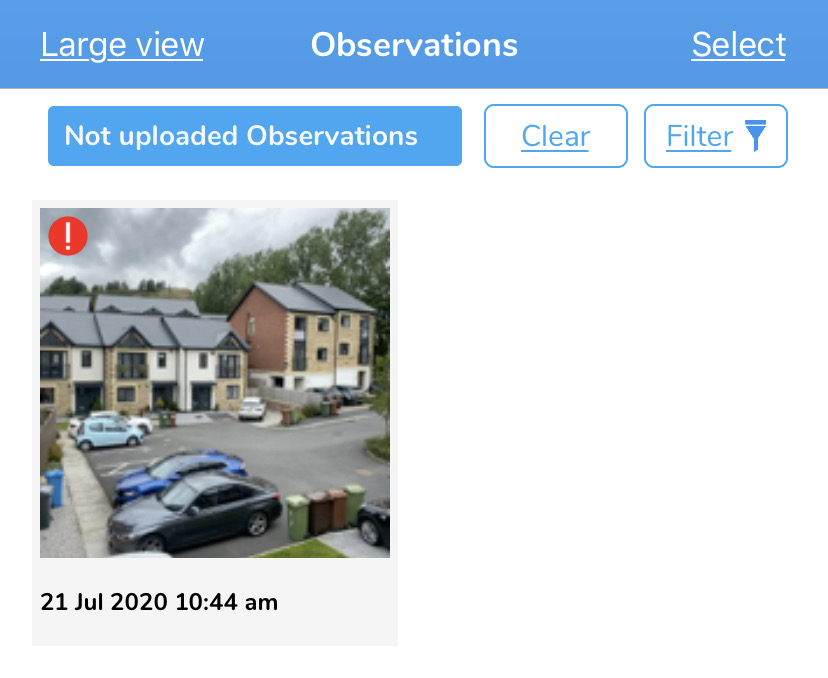
Observations with a red exclamation mark in the top left-hand corner have failed upload and will need manually reuploading.
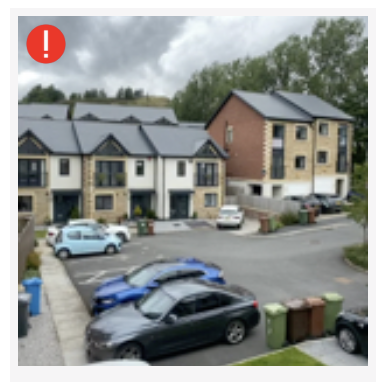 Failed Upload
Observations that have failed to upload will be brought to your attention at the top of the observations page.

By tapping on the Observation requires your attention button all observations which have failed upload will display.
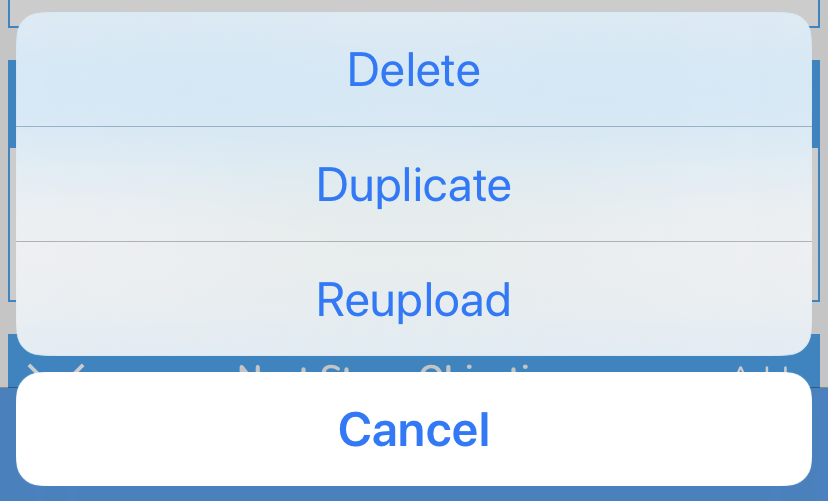
To re-upload an observation:
-
- Tap to open it
- Tap on the menu icon
 in the top right-hand corner
 - Tap Reupload at the bottom of the page
