Creating Web Suite Observations
We recommend that you use Google Chrome when creating web suite observations to ensure you have full access to all its features.
Creating observations directly on the Web Suite is really quick and simple.
-
- Click on the plus icon
 in the top right corner of the Latest Observations bar
- Click on the plus icon
Upload Image
-
- Click Upload in the top left-hand corner to add an image (photo/ video)
- Upload your image by dragging & dropping it into the box or select Browse
- Use the blue box to crop your image and click Add Image
- Click Upload in the bottom right-hand corner
TOP TIPS:
-
- To add more than one image/ video re-click the Upload button (you can add up to 10 media files to an observation)
- To delete an image click to highlight it, click on the bin icon
 in the top right-hand corner and click Delete
Add Learners
-
- Click Add Learners in the bottom right-hand corner of the Learners box
- Select the class and learner(s) from the dropdown boxes
- Click Save changes
Edit Observation Details
-
- Click Edit Observation Details in the bottom right-hand corner of the Observation Details box
- Add any observation details such as the Experience Date, Time, Tags, Parent Share Draft, Notes, Next Steps Comments, Parent Notes
- Click Save Changes
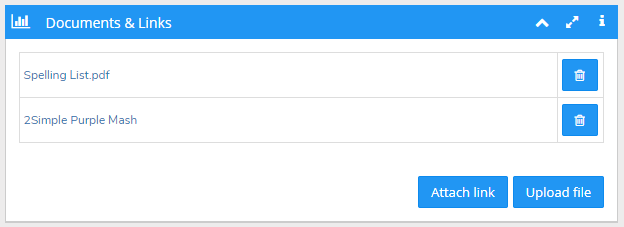
Add Documents & Links
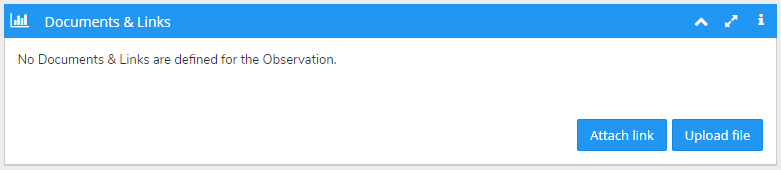
Attach Links:
-
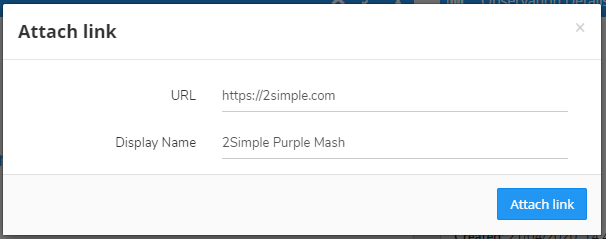
- Click Attach link
- Type or copy & paste the link URL (e.g. https://2simple.com)
- Type the link Display Name as you would like the link to appear on the observation (e.g. 2Simple Website)
- Click Attach link
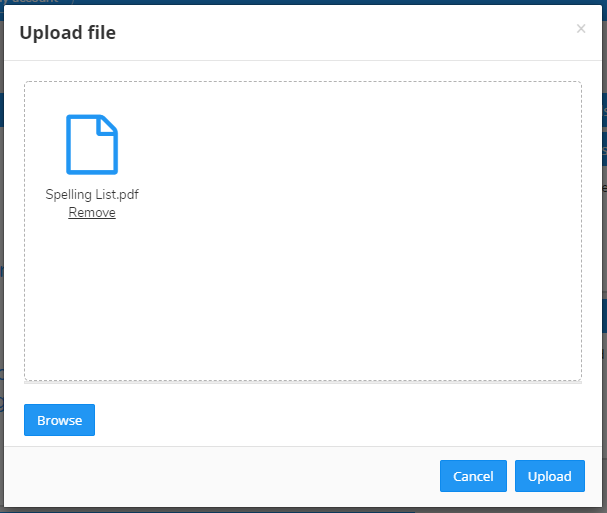
Upload Files:
-
- Click Upload Files
- Browse or drag a drop a file into the box (e.g. Word, PDF, Excel document, etc)
- Click Upload
PLEASE NOTE: Documents and Links will display in the app for parents who are using the most up to date version of the Apple iOS app (v 1.0.6). Android users will need to access their websuite to view the documents and links (a pop-up message will appear to prompt them to do this).
Add Objectives
-
- Click Add Objectives in the bottom right-hand corner of the Objectives box
- Select the Framework, Catagory and Objective Level from the drop-down boxes (please note you can select more than one objective level)
- Click Add next to the objective statements you would like to add to the observation
- Click Save Changes
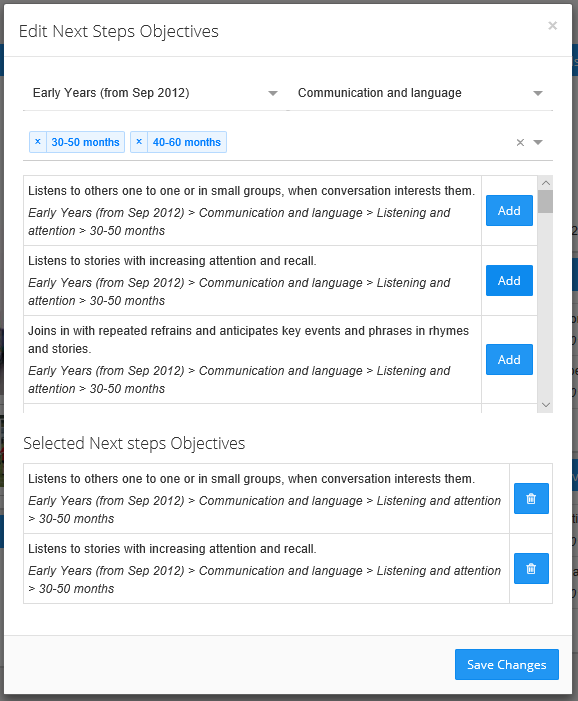
Add Next Steps Objectives
-
- Click Add Next Steps Objectives in the bottom right-hand corner of the Next Steps Objectives box
- Select your Framework, Catagory and Objective Level from the drop-down boxes (please note you can select more than one objective level)
- Click Add next to the next steps objective statements you would like to add to the observation
- Click Save Changes
All your observations will automatically be saved.
Duplicate an Observation
-
- Click the Duplicate button in the top right-hand corner
- A success message will appear confirming that the observation has been successfully duplicated
- Click to make any changes to the observation
Delete an Observation
-
- Click to open the observation you wish to delete
- Click on the red Delete button in the top right-hand corner
- Click Delete – please note this will permanently delete the observation and it won’t be recoverable
