From the Web Suite
-
- Tap Assessment on the main menu bar on the left-hand side
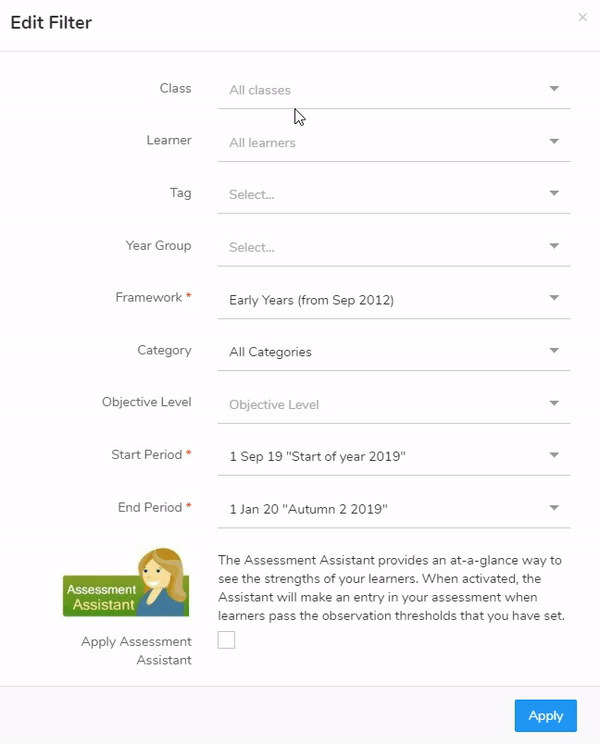
- Click the Create Filter button
- Edit your filter by selecting completing the relevant fields
- Choose whether you would like to activate the Assessment Assistant
- Click Apply
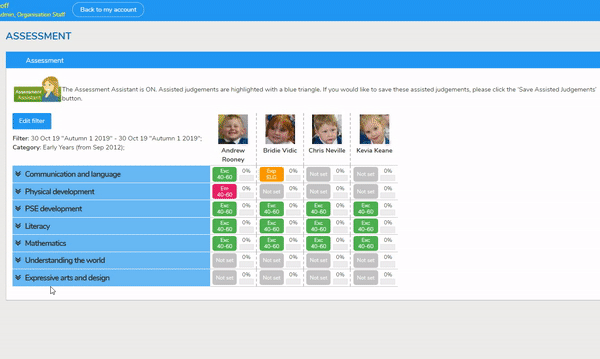
If you have applied the Assessment Assistant judgements will automatically appear based on the thresholds you have set.
-
- Click on the cells to make/ change individual judgements.
- Use the judgements table to make/ amend judgements by ticking in the box so that a blue dot appears
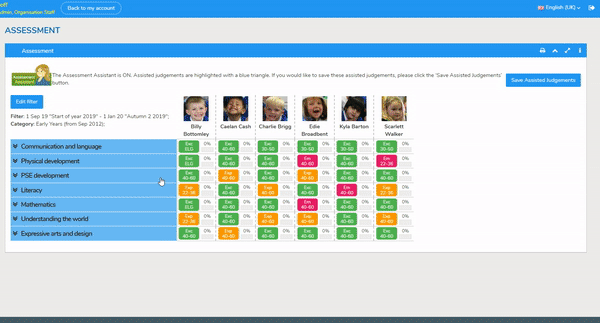
- Click Apply
- To save the assisted judgements click the Save Assisted Judgements button.
TOP TIP: It’s even quicker to do your assessment using the quick fill feature. You can quickly repeat the last judgement you have made by Right-Clicking in any judgement cell. Set the same judgment for all learners by right-clicking on the AoL/objective.
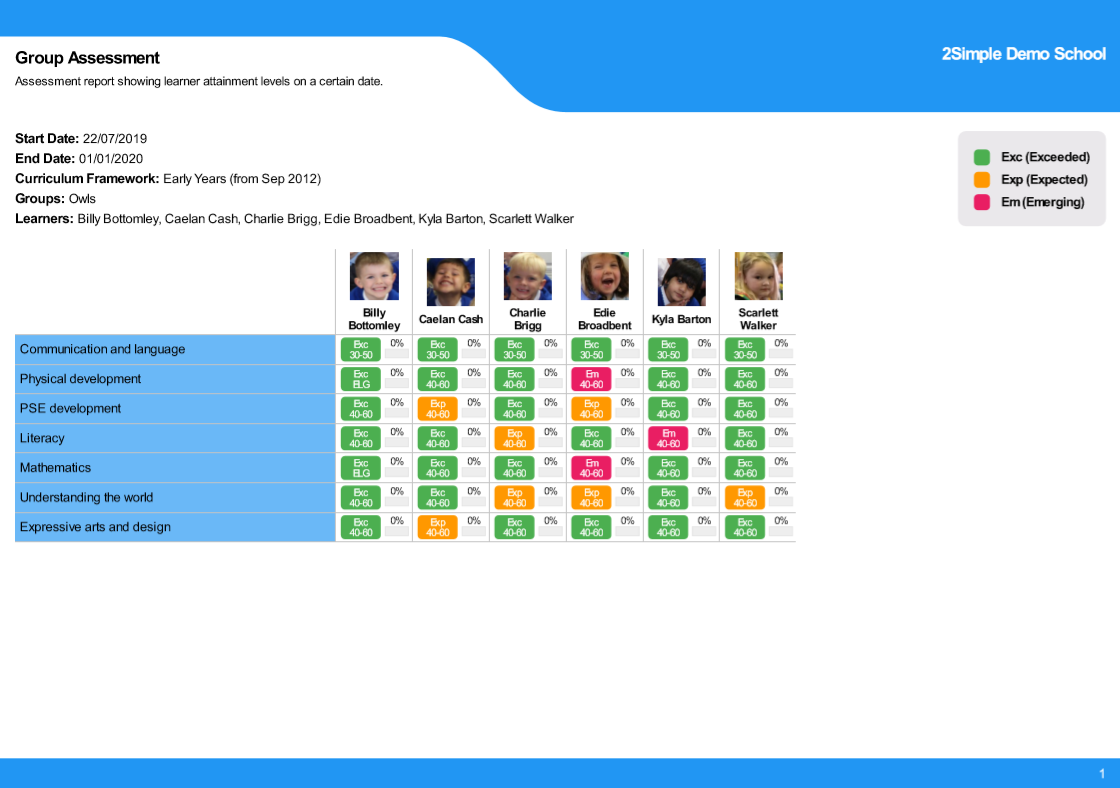
Print Judgements
-
- Click on the print icon
 in the top right-hand corner of the Assessment bar
 - The following popup message will appear
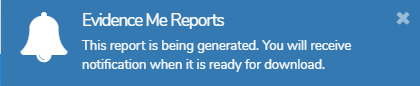
- Once the report is ready the following popup message will appear

- Click to view the report
- The report will generate in a PDF document which you can save or print
- Click on the print icon
From the App
You can also enter a learner’s Assessment Data directly from the app.
-
- Tap Profiles
- Tap on a class name
- Tap on a learner’s name
- Under Assessment, tap Filters to filter the framework, level and assessment period
- Click Apply
- Manually enter/ amend judgements by clicking on an area/ sub-area/ objective from the framework
- Tap on an age band

- Tap on a judgment within the table so that a blue dot appears

- Tap Apply